Sometimes, Wi-Fi routers do not connect to security cameras. This can be frustrating. But do not worry. Here is a simple guide to help you fix this problem.
1. Check The Power
First, check if the power is on for both the router and the cameras. Sometimes, the problem is just a power issue. Make sure all devices are plugged in and turned on.
2. Restart The Router
Restarting the router can solve many problems. To do this, unplug the router. Wait for 10 seconds. Then, plug it back in. Wait for the router to start up again. This can take a few minutes.
3. Restart The Cameras
Next, restart the security cameras. Turn them off and then turn them back on. This can help reset the connection.
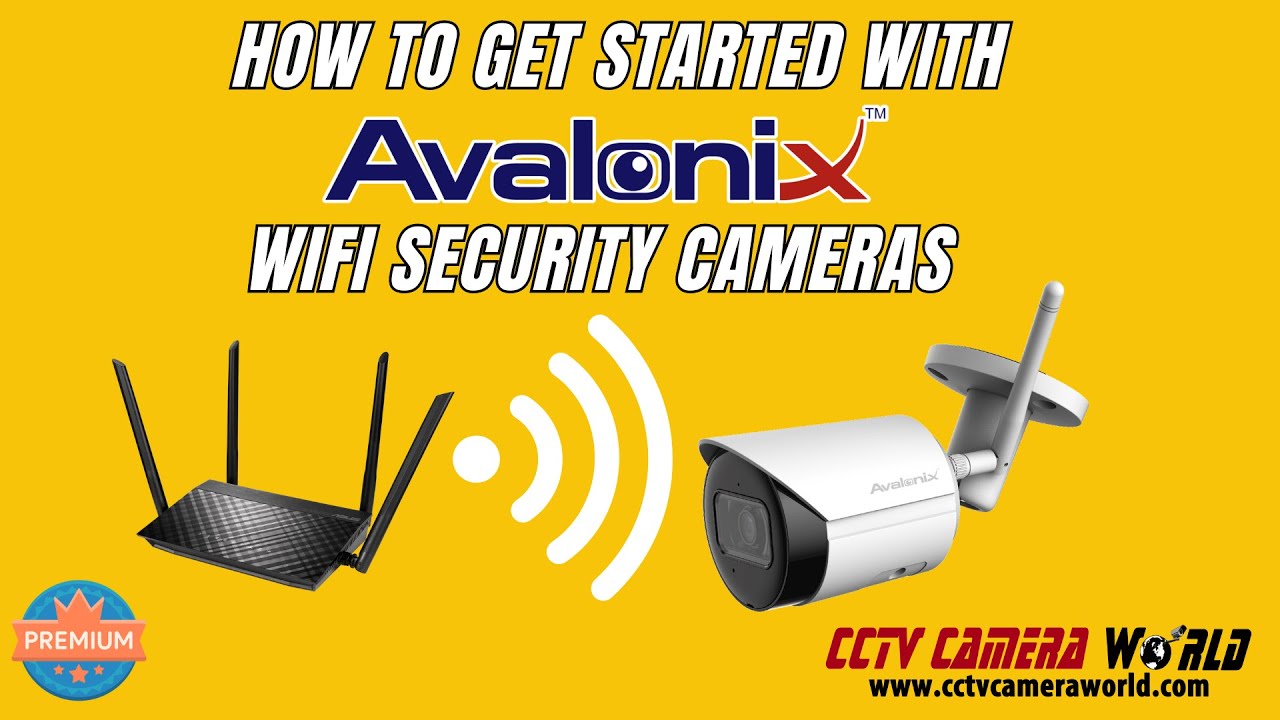
Credit: www.cctvcameraworld.com
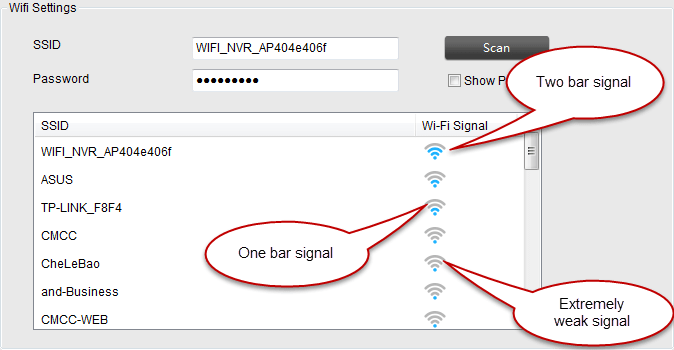
4. Check The Wi-Fi Signal
Wi-Fi signal strength is important. Weak signals can cause connection problems. Place the router closer to the cameras. This can improve the signal strength.
5. Check The Network Name And Password
Make sure the cameras are connected to the correct Wi-Fi network. Check the network name (SSID) and password. Sometimes, a simple mistake in the password can cause problems.
6. Update Firmware
Firmware is the software inside the router and cameras. Sometimes, outdated firmware can cause problems. Check for updates on the router and camera’s websites. Follow the instructions to update the firmware.
7. Check The Router Settings
Sometimes, the router settings can block the cameras. Log in to the router’s settings page. Look for any settings that might block the cameras. This can include firewall settings or parental controls.
8. Check For Interference
Other devices can interfere with the Wi-Fi signal. Check for devices like microwaves or cordless phones. These can cause problems. Move these devices away from the router and cameras.
9. Reset The Router
If all else fails, reset the router to factory settings. This will erase all settings and start fresh. To do this, press and hold the reset button on the router for 10 seconds. After resetting, you will need to set up the Wi-Fi network again.
10. Check The Camera App
Sometimes, the problem is with the camera app. Make sure the app is up to date. Check for any settings in the app that might block the connection.
11. Contact Support
If you have tried everything and still have problems, contact support. Both the router and camera manufacturers have support teams. They can help you solve the problem.
Conclusion
Fixing a Wi-Fi router that is not connecting to security cameras can be simple. Follow these steps to solve the problem. Check the power, restart devices, check signal strength, and update firmware. If all else fails, reset the router or contact support. With patience, you can fix the connection and keep your cameras working.
Additional Tips
Secure Your Network
Always use a strong password for your Wi-Fi network. This keeps your network secure. Do not share your password with strangers.
Regular Maintenance
Perform regular maintenance on your router and cameras. This includes checking for updates and cleaning the devices. Regular maintenance can prevent problems.
Placement Of Devices
Place your router in a central location. This ensures a strong signal throughout your home. Avoid placing the router near thick walls or metal objects.
Use Quality Equipment
Invest in quality routers and cameras. Cheap equipment can cause problems. Quality equipment lasts longer and provides better performance.
Keep Software Updated
Always keep your router and camera software updated. Updates often fix bugs and improve performance.
Check Internet Speed
Slow internet can cause connection problems. Check your internet speed. If it is slow, contact your internet provider for help.
Use A Wi-fi Extender
If your home is large, use a Wi-Fi extender. This boosts the signal and helps connect devices that are far from the router.
Monitor Device Load
Too many devices on the network can cause problems. Monitor the number of devices connected. Disconnect any devices that are not in use.
Check For Outages
Sometimes, internet outages can cause problems. Check with your internet provider to see if there are any outages in your area.
Use The Right Frequency
Wi-Fi routers have two frequencies: 2.4 GHz and 5 GHz. Security cameras often work better on the 2.4 GHz frequency. Check the camera manual for the recommended frequency.
Understand Your Equipment
Read the manuals for your router and cameras. Understanding your equipment can help you solve problems faster.
Be Patient
Fixing connection problems can take time. Be patient and follow the steps carefully. With time and effort, you can fix the problem.
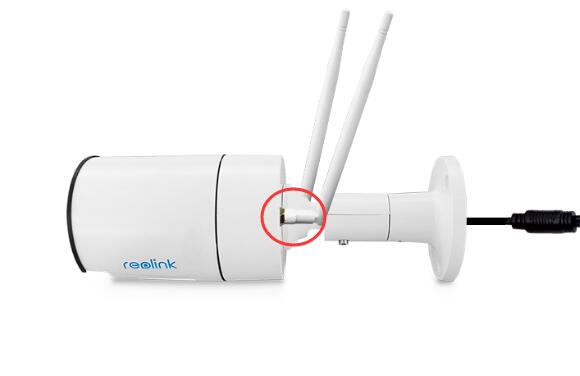
Credit: reolink.com
Summary
To fix a Wi-Fi router that is not connecting to security cameras, follow these steps:
- Check the power
- Restart the router
- Restart the cameras
- Check the Wi-Fi signal
- Check the network name and password
- Update firmware
- Check the router settings
- Check for interference
- Reset the router
- Check the camera app
- Contact support if needed
Additional tips include securing your network, regular maintenance, proper placement of devices, using quality equipment, keeping software updated, checking internet speed, using a Wi-Fi extender, monitoring device load, checking for outages, using the right frequency, understanding your equipment, and being patient.
Following these steps can help you fix the connection and keep your security cameras working properly. Good luck!
Frequently Asked Questions
Why Is My Wi-fi Router Not Connecting To Security Cameras?
Your Wi-Fi router may have signal issues or incorrect settings. Check both and restart your router.
How Do I Reset My Wi-fi Router?
Press the reset button on your router for 10 seconds. This restores default settings.
What Should I Do If The Security Camera Can’t Find Wi-fi?
Ensure the Wi-Fi signal is strong. Move the camera closer to the router if needed.
Why Does My Security Camera Keep Losing Connection?
Interference from other devices might be the cause. Try changing the Wi-Fi channel on your router.