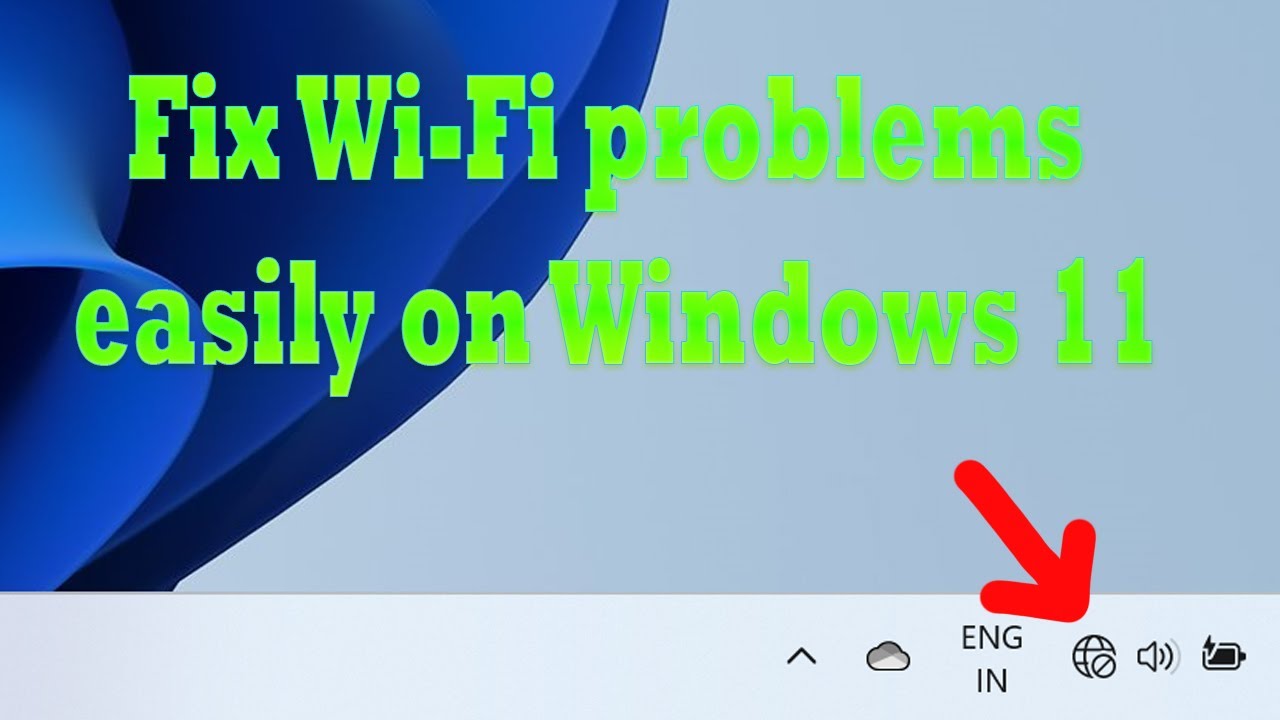
No internet access on your Windows 11 WiFi can be frustrating. Fixing it involves a few simple steps.
In today’s connected world, staying offline can feel isolating. Many users face internet issues, especially with WiFi on Windows 11. This can disrupt work, study, or entertainment. But don’t worry, resolving this problem is straightforward. By following a few easy steps, you can get your WiFi working again.
Whether it’s a network configuration issue or a minor software glitch, there are solutions available. In this guide, we will explore effective methods to help you restore internet access on your Windows 11 device. Let’s get started and solve your WiFi troubles quickly!
Common Causes
Experiencing “No Internet Access” on your WiFi in Windows 11 can be frustrating. Understanding the common causes can help troubleshoot the issue effectively. Below, we’ll explore some typical reasons for this problem.
Network Adapter Issues
The network adapter is a crucial component for connecting to the internet. Driver issues, hardware malfunctions, or power settings can disrupt the connection.
- Outdated drivers can cause compatibility issues. Update your drivers regularly.
- Check the device manager to ensure the network adapter is functioning properly.
- Restart the network adapter to refresh its connection. Disable and then enable it in the device manager.
Router Problems
The router plays a significant role in your internet connectivity. Router settings, firmware, or physical obstructions can impact the WiFi signal.
- Restart your router. Unplug it for 30 seconds, then plug it back in.
- Ensure the router firmware is updated. Check the manufacturer’s website for updates.
- Physical barriers like walls can weaken the signal. Place the router in a central, open location.
These common causes can often explain why you might be facing No Internet Access in Windows 11. Addressing these areas can help restore your internet connection.
Initial Troubleshooting
Experiencing no internet access in Windows 11 can be frustrating. Initial troubleshooting often helps. This quick guide covers the first steps to take. Focus on simple fixes. They may solve your problem without advanced technical help.
Restart Router
Begin with a router restart. This often resolves connectivity issues. Follow these steps:
- Unplug the router from power.
- Wait for at least 30 seconds.
- Plug the router back in.
- Wait for the router to fully restart. This can take a few minutes.
Check if your internet connection is restored. If not, move to the next step.
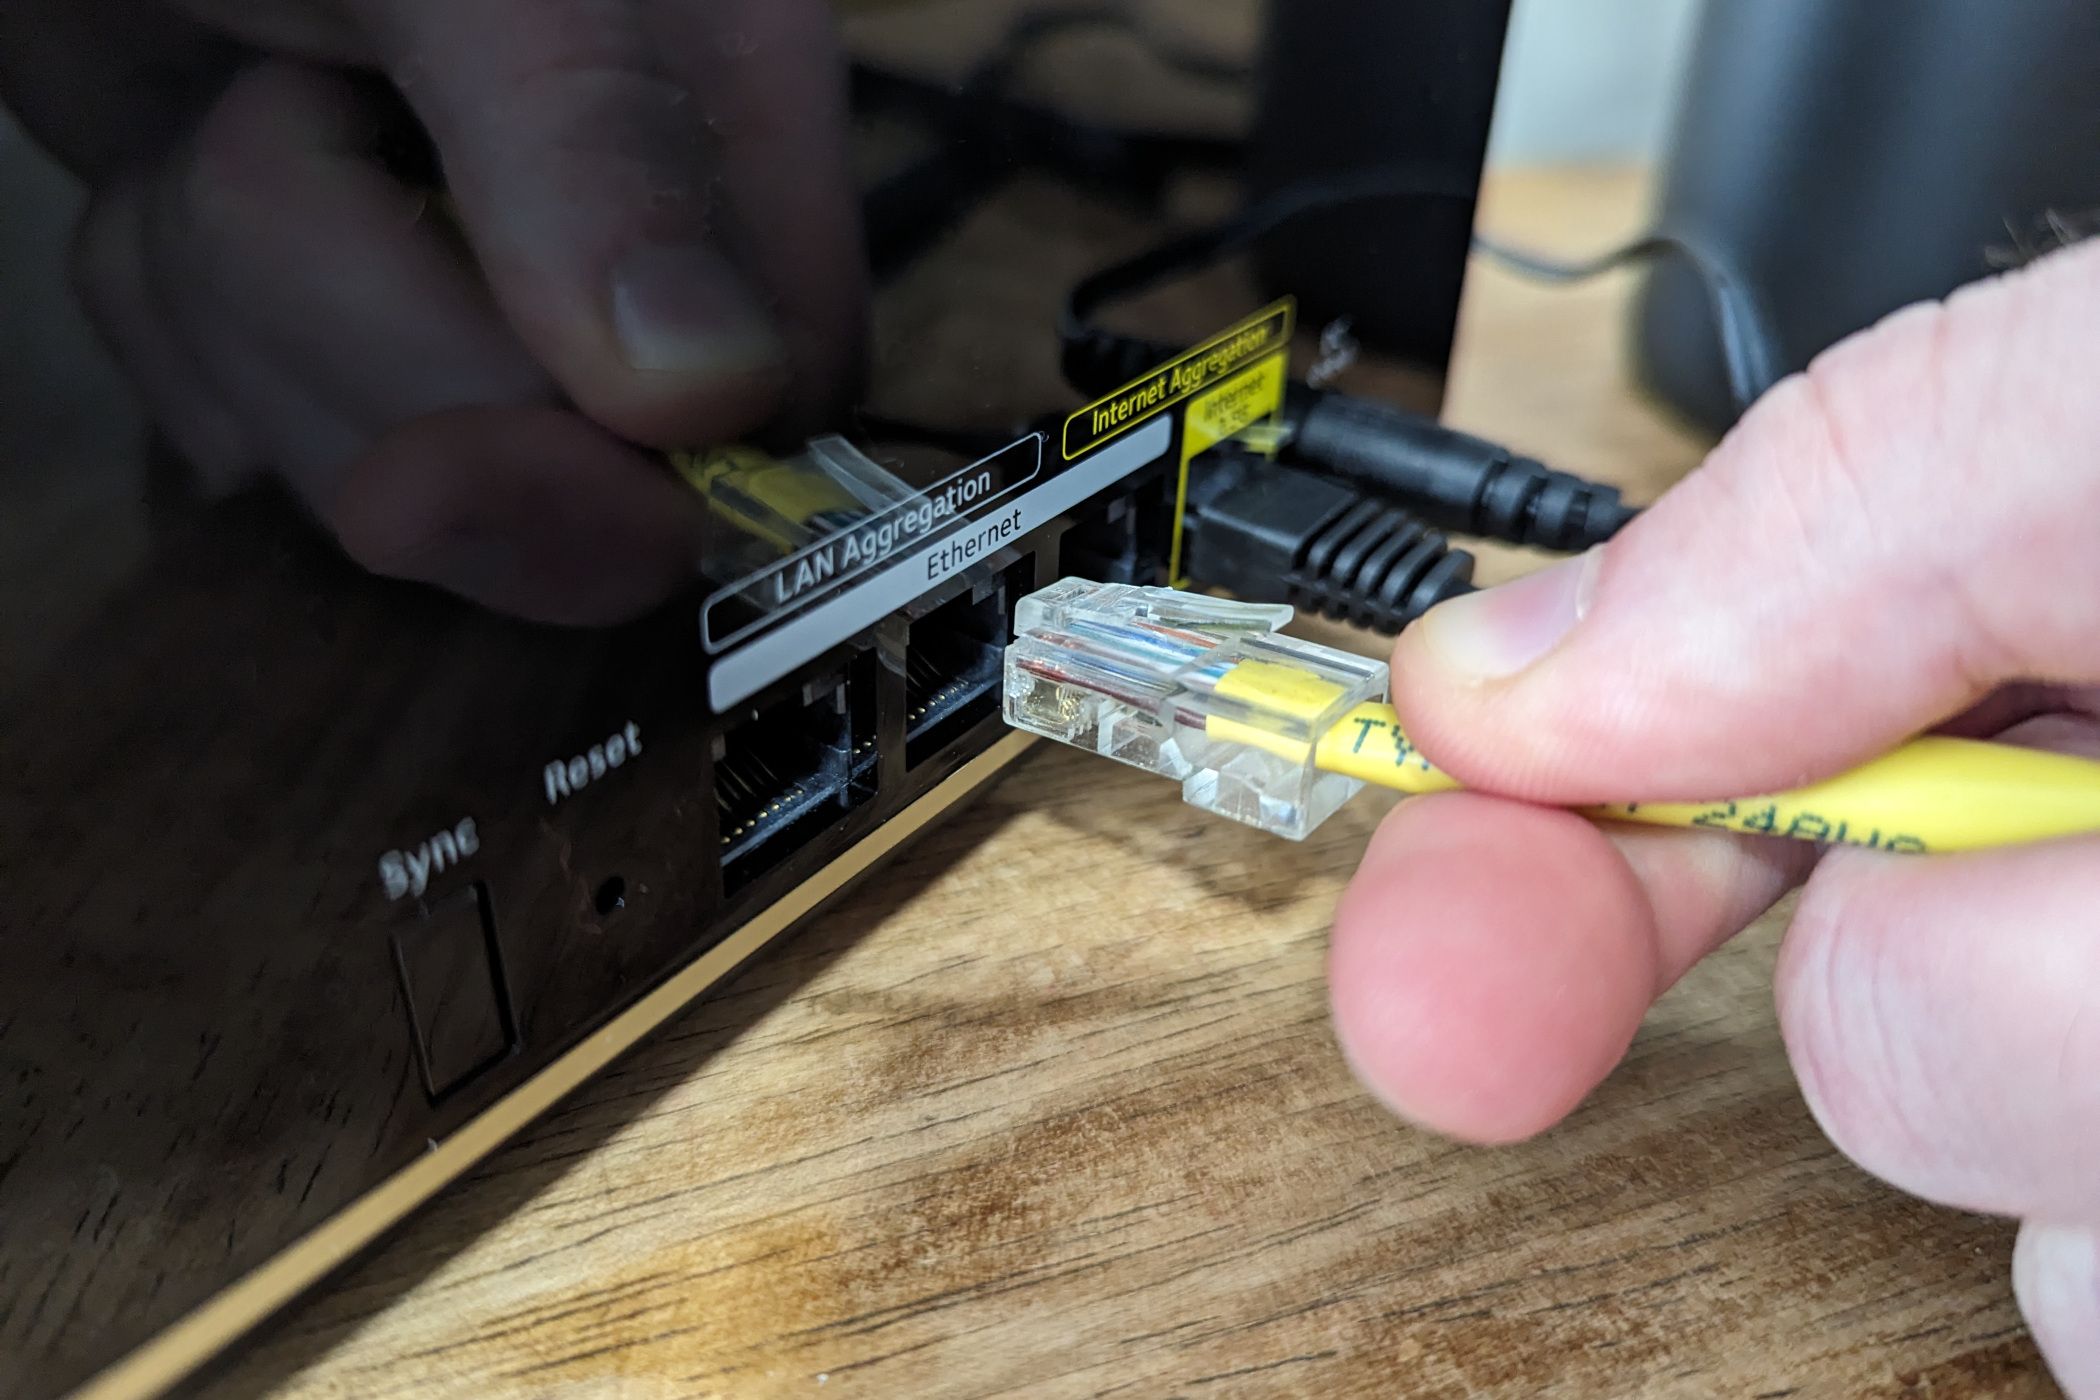
Check Cables And Connections
Ensure all cables are securely connected. Loose or damaged cables can cause issues.
| Component | Action |
|---|---|
| Router | Check power cable and Ethernet cable. |
| Computer | Ensure the Wi-Fi adapter is properly connected. |
Inspect cables for any visible damage. Replace any faulty cables. Confirm all connections are secure. After checking, test your internet connection again.
Network Adapter Settings
Network Adapter Settings are crucial for resolving internet issues in Windows 11. Incorrect settings can cause “No Internet Access” problems. Adjusting these settings can often fix the issue.
Update Drivers
Outdated drivers can cause connectivity problems. Updating your network adapter drivers can improve performance and stability. Follow these steps:
- Press Windows + X and select Device Manager.
- Find Network Adapters and expand the list.
- Right-click your network adapter and select Update Driver.
- Select Search automatically for drivers.
- Follow the prompts to complete the update.
Restart your computer after updating the drivers. Check if the internet issue is resolved.
Reset Network Adapter
Sometimes, a simple reset of the network adapter can fix connectivity issues. Here is how you can do it:
- Press Windows + I to open Settings.
- Go to Network & Internet.
- Select Status from the left-hand menu.
- Click on Network reset at the bottom.
- Confirm by clicking Reset now.
Your computer will restart and reset the network settings. Reconnect to your WiFi and check the internet connection.
Windows Network Diagnostics
Are you facing the frustrating issue of no internet access on your Windows 11 WiFi? This problem can disrupt your work and entertainment. One effective way to troubleshoot this problem is by using the Windows Network Diagnostics tool. This built-in feature can help identify and fix network issues quickly.
Run Troubleshooter
To start, you need to run the Windows Network Diagnostics tool. Follow these steps:
- Click on the Start menu and type “Settings”.
- Open the Settings app and go to Network & Internet.
- Select Status from the left-hand menu.
- Click on the Network troubleshooter link.
- Follow the on-screen instructions to complete the troubleshooting process.
This tool will scan your system for network issues and try to fix them automatically.
Analyze Results
After running the troubleshooter, it will present the results. You need to analyze these results to understand the issue better. Here are some common problems and their solutions:
| Issue | Solution |
|---|---|
| DNS server not responding | Try changing your DNS settings. |
| Network adapter problem | Update or reinstall the network driver. |
| IP address conflict | Renew your IP address. |
If the troubleshooter cannot fix the problem, it will provide details about the issue. Use this information to search for specific solutions online or consult a tech expert.
By following these steps, you can resolve the no internet access problem on your Windows 11 WiFi.
Dns And Ip Configuration
Experiencing “No Internet Access” issues on your Windows 11 WiFi can be frustrating. Fixing DNS and IP configuration problems can often resolve these issues. DNS (Domain Name System) and IP (Internet Protocol) settings play a key role in connecting to the internet. Incorrect settings can block your access. Follow these simple steps to adjust your DNS and IP configurations. This can help you regain internet access.
Change Dns Settings
DNS settings translate website names into IP addresses. Incorrect DNS settings can cause internet issues. To change your DNS settings on Windows 11:
- Press Win + I to open Settings.
- Go to “Network & internet”.
- Select “Wi-Fi” and then “Hardware properties”.
- Scroll down and click “Edit” under “DNS settings”.
- Choose “Manual” and toggle “IPv4” or “IPv6”.
- Enter preferred DNS servers. For example, Google’s DNS: 8.8.8.8 and 8.8.4.4.
- Save changes and restart your computer.
Renew Ip Address
Your IP address identifies your device on the network. Sometimes, it needs renewing to fix connection issues. To renew your IP address:
- Press Win + R, type “cmd”, and press Enter to open Command Prompt.
- Type “ipconfig /release” and press Enter. This will release your current IP.
- Wait a few seconds, then type “ipconfig /renew” and press Enter. This will renew your IP address.
- Close the Command Prompt and check your connection.
These steps should help resolve your “No Internet Access” issue on Windows 11 WiFi. Adjusting DNS settings and renewing your IP address can restore your internet connection. Try these methods to enjoy a smooth online experience.
Credit: www.businessinsider.com
Firewall And Security Software
Firewall and security software can sometimes cause WiFi connectivity issues. They may block your internet access by mistake. Learning to manage these settings can help you fix “No Internet Access” problems in Windows 11.
Disable Firewall Temporarily
First, try disabling the firewall temporarily. This can help identify if the firewall is blocking your connection. Follow these steps:
- Open the Start menu and type “Windows Security”.
- Click on “Firewall & network protection”.
- Select your active network (usually “Public” or “Private”).
- Toggle off the “Microsoft Defender Firewall” switch.
Check if your internet works now. If it does, the firewall was blocking your connection. Remember to turn it back on after testing.
Check Security Software
Your security software might also cause connectivity issues. Antivirus programs sometimes interfere with network settings. To check:
- Open your antivirus or security software.
- Look for a “Network Protection” or similar setting.
- Disable this feature temporarily.
After disabling it, check your internet connection. If it works, the security software was the problem. Don’t forget to re-enable the feature after testing.
Advanced Settings
WiFi issues can be frustrating, especially when you need a stable internet connection. Sometimes, basic troubleshooting steps aren’t enough. You need to dive into the advanced settings of your Windows 11 system. These settings can help you resolve the “No Internet Access” problem.
Modify Power Management
First, check the power management settings of your WiFi adapter. Open the Device Manager by right-clicking the Start button. Look for “Network Adapters” and find your WiFi adapter.
Right-click on it and select “Properties.” Go to the “Power Management” tab. Uncheck the box that says, “Allow the computer to turn off this device to save power.” Click “OK” to save the changes.
Adjust Wireless Mode
Next, adjust the wireless mode of your adapter. Go back to the “Properties” of your WiFi adapter in the Device Manager. Select the “Advanced” tab.
Find the “Wireless Mode” setting. This setting can be under different names like “Wireless Mode,” “Wireless Mode Selection,” or something similar. Change the value to match your router’s settings. This could be 802.11b, 802.11g, 802.11n, or 802.11ac.
Click “OK” after making the changes. Your system may need a restart to apply the new settings.
Following these steps can help resolve your WiFi issues. Advanced settings can be a game-changer when basic troubleshooting fails. Try these tips and regain your internet connection.
Credit: www.howtogeek.com
Contacting Support
Experiencing a “No Internet Access” issue with your Wi-Fi on Windows 11 can be frustrating. When basic troubleshooting steps fail, contacting support is the next logical step. Support teams can offer expert guidance. They can help you get back online quickly.
Isp Support
First, reach out to your Internet Service Provider (ISP). Your ISP can check if there’s an outage in your area. They can also verify if your account is active and in good standing. Sometimes, the issue might be with the modem or router. Your ISP can guide you through resetting or reconfiguring your equipment. They may also send a technician if the problem persists.
Microsoft Support
If contacting your ISP doesn’t resolve the issue, try Microsoft Support. Microsoft’s team can help diagnose Windows 11-specific issues. They have tools to detect software conflicts, driver issues, or system bugs. You can reach them via chat, phone, or their support website. Microsoft Support may also provide remote assistance. This allows them to troubleshoot your system directly and find a solution.

Credit: www.youtube.com
Frequently Asked Questions
How Do I Fix No Internet Access In Windows 11?
To fix no internet access in Windows 11, restart your router and computer. Check your network settings. Update network drivers. Run the Network troubleshooter. Disable VPNs or proxies.
Why Does My Wifi Say No Internet Access?
Your WiFi may say no internet access due to network issues, incorrect settings, or outdated drivers. Check your router, settings, and update drivers.
How Can I Troubleshoot Wifi Issues In Windows 11?
To troubleshoot WiFi issues in Windows 11, use the Network troubleshooter. Check your network settings. Restart your router and computer. Update network drivers.
Why Is My Wifi Connected But No Internet?
If your WiFi is connected but no internet, there may be a router issue. Check your network settings. Restart your router and device.
Conclusion
Solving the “No Internet Access” issue on Windows 11 is doable. Follow the steps. Check your router. Update your drivers. Reset network settings. These actions usually fix the problem. If not, contact your Internet Service Provider. They can help. Remember, patience is key.
Stay calm. You will soon surf the web again. Happy browsing!